
Copper reacts simultaneously to two aggressions in the kitchen: atmospheric oxidation, which dulls the surface, and splashes of hot grease, which form a sticky film on top. On a hood, these two phenomena overlap and reinforce each other. Cleaning a copper hood therefore requires a two-step approach: degreasing followed by metal treatment, which most household recipes do not distinguish.
Grease and oxidation on copper: two problems, two distinct chemistries
A greasy residue does not respond to the same agents as an oxide layer. Cooking grease is an organic substance that is poorly dissolved by acidic solutions (vinegar, lemon). Copper oxide, on the other hand, yields to a mild acid but resists conventional surfactants.
Applying vinegar directly to a dirty hood amounts to attacking the oxide beneath the grease without having removed the greasy film. The result is often uneven: shiny areas alternate with darker spots.
The most reliable method is to degrease first with a neutral pH product, rinse, and then treat the oxidation in a second pass. This sequencing also prevents spreading the dissolved grease over the entire surface during polishing. Before moving on to recipes, it is essential to know whether the hood has accumulated a recent greasy film or if it shows older oxidation, or both.
To better understand how to clean a copper hood while considering these two layers, the principle remains the same: separate degreasing from metal treatment.
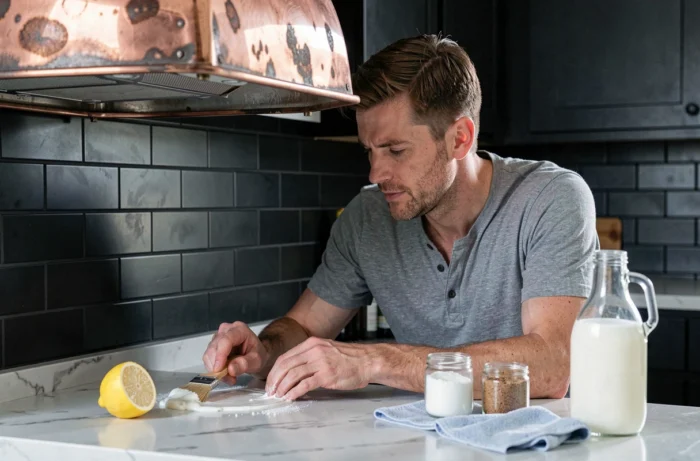
Raw, varnished, or patinated copper: adapting cleaning to the finish
Not all copper hoods are cleaned the same way. The finish determines the allowed products and the actions to avoid.
Raw copper (untreated)
Raw copper naturally oxidizes when exposed to humid air. On this type of surface, mild acidic solutions work well to restore the original shine. A mixture of white vinegar and fine salt applied with a non-abrasive cloth yields visible results in a few minutes.
Rinsing with clear water is a step that many rush. Any acidic residue left on the copper accelerates subsequent oxidation. Immediately drying with a dry cloth prevents moisture from restarting the process.
Varnished or lacquered copper
A protective varnish prohibits any acidic or abrasive product. Vinegar, lemon, and baking soda attack the lacquer layer and create irreversible dull spots. For a varnished hood, cleaning with warm soapy water (Marseille soap or mild dish soap) is sufficient. A microfiber cloth remains the only recommended contact tool.
Decorative patinated copper
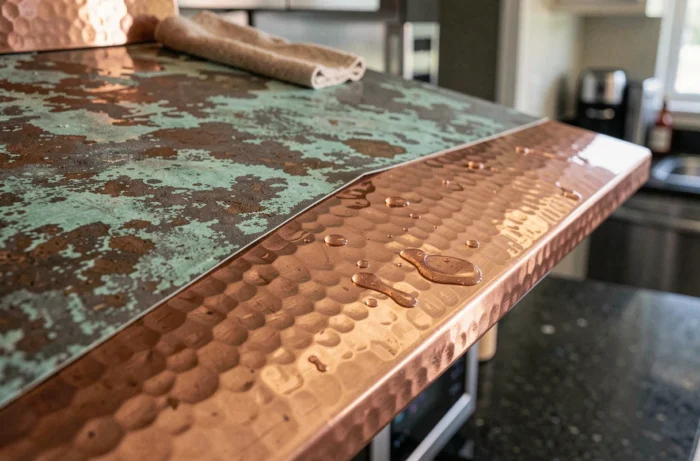
Some hoods are sold with a deliberate patina, brown or greenish, which is part of the design. Trying to restore shiny copper on this type of piece amounts to destroying the original finish. Cleaning is then limited to degreasing, without any acidic agent.
Complete cleaning method for a raw copper hood
This procedure applies to unvarnished copper, the most common case for artisanal or high-end hoods.
- Wipe a damp cloth soaked in warm water and a neutral pH cleaner over the entire surface to remove the greasy film. Rinse the cloth regularly to avoid redepositing grease.
- Prepare a paste with white vinegar and fine salt, or lemon juice mixed with baking soda. Apply in small sections, rubbing with a soft cloth, always in the direction of the metal brushing if visible.
- Rinse thoroughly with clear water each treated section before moving on to the next. Never let the acidic mixture dry on the surface.
- Immediately dry with a clean, dry cloth. Residual moisture is the primary cause of rapid reoxidation.
- Apply a thin layer of beeswax or food-grade mineral oil to create a temporary barrier against oxidation.
Beeswax provides protection for several weeks in the kitchen. Renewing this protective layer after each complete cleaning extends the interval between two polishing sessions.
Common mistakes that damage the copper of a kitchen hood
The most common damage does not come from oxidation itself, but from inappropriate cleaning actions.
Abrasive sponges leave visible micro-scratches under kitchen lighting. These scratches then trap grease and accelerate dulling. A microfiber cloth or chamois leather are the only suitable friction supports for copper.
Baking soda, often recommended alone, is a mild abrasive. Used in dry powder or too thick a paste, it can scratch polished finishes. Mixing it with enough liquid (water or lemon) to obtain a fluid paste reduces this risk.
Another frequent mistake: using multi-surface products containing ammonia. Ammonia reacts with copper and causes bluish stains that are difficult to remove. Checking the composition before applying anything to the hood prevents this type of damage.
Frequency of maintenance for a copper hood according to usage
The cleaning frequency directly depends on cooking intensity. A kitchen where sautéing and frying are done daily produces much more greasy splashes than a household that primarily uses the oven.
A quick wipe with a damp cloth after each greasy cooking session prevents the film from polymerizing on the copper. This gesture of a few seconds avoids most deep cleaning sessions.
Complete polishing (degreasing, acidic treatment, rinsing, protection) naturally spaces out when this light maintenance is regular. For an active kitchen, monthly polishing is generally sufficient. For a decorative hood above a rarely used cooking surface, quarterly treatment maintains the shine of the copper without excessive effort.
Copper is a material that forgives temporary neglect: even when very oxidized, a hood regains its original appearance after careful cleaning. The only truly permanent degradation comes from mechanical scratches. Protecting the surface from abrasives matters more than the frequency of polishing.