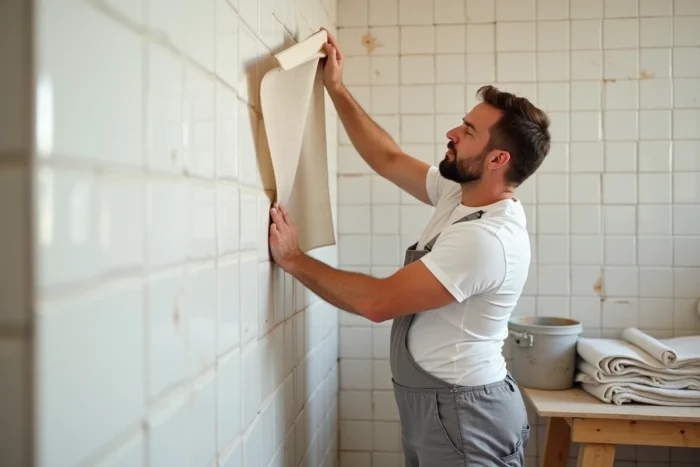
A bathroom wall covered with old tiles that you want to hide without tearing everything down is the most common situation. Fiberglass wallpaper on wall tiles allows you to transform this rigid surface into a paint-ready one, provided you follow a few steps that are not optional. The tiles are a closed, non-porous surface, and this is precisely where the difficulty lies.
You can achieve a clean and durable result by carefully preparing the surface. Neglecting this phase means you’ll find the wallpaper peeling off in a few months, especially in a humid room.
Non-porous wall tiles: why preparation changes everything
On a plaster or concrete wall, the adhesive penetrates the micro-porosities of the surface. On tiles, the glazed surface prevents any absorption. The adhesive remains on the surface and only adheres if the surface has been treated properly.
The first step is to lightly sand the glazed surface of the tiles with medium-grit sandpaper. The goal is to scratch the glaze, not to remove it. This sanding creates sufficient micro-roughness for the coating or adhesive to gain mechanical grip.
After sanding, dust off and degrease with an alkaline detergent. Any trace of soap, limescale, or grease on the tiles compromises adhesion. This is a point where you can apply fiberglass wallpaper on tiles with SIA Architecture by finding additional details on the compatibility of surfaces.
Next comes the application of a bonding primer formulated for closed surfaces. Manufacturers have developed specific ranges for tiles, ceramics, and non-absorbent surfaces in recent years. This primer creates an adhesion film between the tiles and the leveling compound that will fill the joints.
Leveling compound on tiles: filling the joints before the fiberglass wallpaper
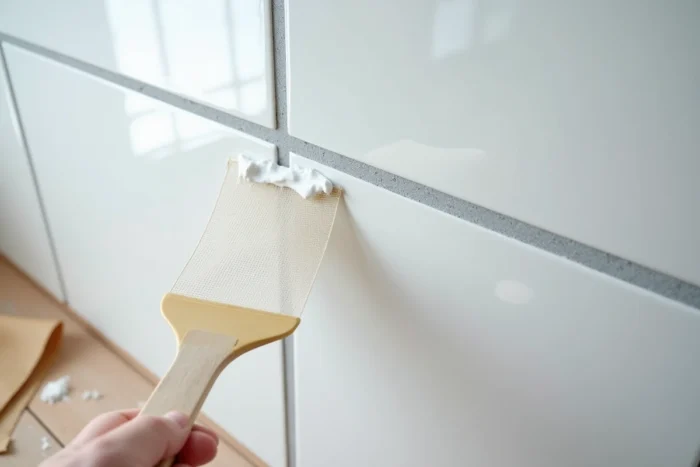
The classic trap is to stick the fiberglass wallpaper directly onto the tiles without leveling. The hollow joints between the tiles then show through the fiberglass after drying. You end up with a gridded wall, barely better than before.
Two layers of filling compound are necessary to achieve a flat surface. The first layer fills the joints and corrects level discrepancies between tiles. Let it dry, then lightly sand before applying the second layer with a wide spatula.
The choice of compound matters. A standard smoothing compound for plaster does not adhere to a primer for closed surfaces. Use a compound compatible with the bonding primer applied beforehand, checking the manufacturer’s instructions.
Once the surface is leveled and sanded, brush off the dust. The wall should feel smooth to the touch, with no noticeable dips or bumps under the palm. Only at this stage can the installation of the fiberglass wallpaper begin.
Installing fiberglass wallpaper on leveled wall: technique and cutting
Start by applying the adhesive for fiberglass wallpaper directly onto the leveled wall, using a brush or roller. The adhesive is applied to the surface, never on the wallpaper. Apply adhesive to a width corresponding to the fiberglass strip, plus a few centimeters of margin.
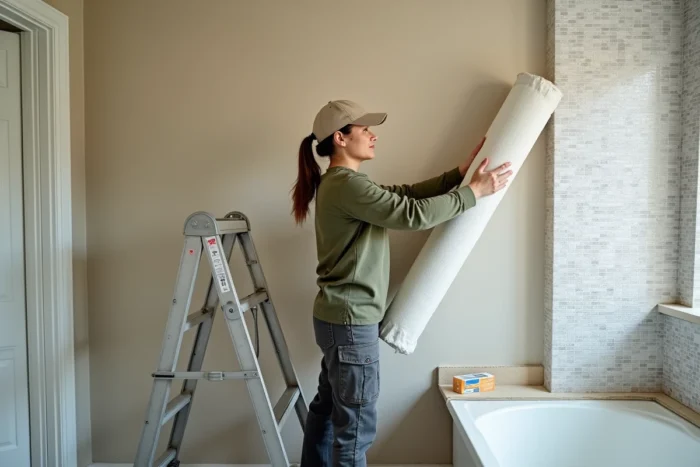
The first strip is applied starting from a corner of the wall. Unroll the wallpaper from top to bottom, smoothing it with a wide spatula to eliminate air bubbles. Smoothing from the center towards the edges prevents trapping air under the fiberglass.
- Cut the top and bottom of the strip with a cutter against a metal ruler, leaving a slight gap from the ceiling and the baseboard.
- Place the subsequent strips edge to edge, without overlapping, checking the alignment of the pattern if the fiberglass has a geometric mesh (chevrons, tiles).
- At the inside corners, cut the strip at the angle with the cutter and take a new strip on the adjacent wall, slightly overlapping and then recutting the two layers to achieve an invisible seam.
Opinions vary on the drying time between gluing and installation. Some professionals install immediately, while others let the adhesive become slightly tacky. In any case, working in a ventilated room speeds up the setting without compromising adhesion.
Painting fiberglass wallpaper on tiles: finishing and paint choice
Once the adhesive is dry (allow at least a full day, longer in a humid room), apply a primer before the finishing paint. This primer standardizes the absorption of the fiberglass wallpaper and prevents differences in sheen between areas.
For a bathroom or kitchen, choose a satin or glossy acrylic paint that is moisture-resistant. Matte paints should be avoided in these rooms: they absorb splashes and stain quickly.
- Apply two coats of paint with a short-pile roller for an even finish.
- Cross the passes (vertical then horizontal) to cover the texture of the fiberglass wallpaper uniformly.
- Allow to dry completely between coats, without forcing the drying with a space heater that can create blisters.
The final coating provides a smooth wall that is resistant to light impacts, much easier to maintain than the old tiles. If a strip peels locally over time, you can re-glue it with a fine brush using the same adhesive, without having to redo everything.
The success of this project hinges on one thing: not skipping the leveling step on the tiles. A flat and properly primed surface absorbs mechanical and thermal stresses without transmitting cracks to the wallpaper. The rest is classic fiberglass wallpaper installation, accessible to anyone equipped with a spatula, a cutter, and a bit of method.